I know it's been a while since I've kept up with this blog. I've been focusing on using instagram (@cwdeanbanjos) and a new website (cwdeanbanjos.com) to post about builds, playing, and Jenes Cottrell related items. My website is live, but incomplete. Soon, I'll have a blog going on that is directly connected to the website. Once up, I'll be using that to post about builds, break down tunes and techniques, and of course geek out about Jenes Cottrell. Once the site is complete and running smoothly, I'll deleted this blog.
0 Comments
Looking for an original banjo built by Jenes Cottrell as a honest price. Please contact me at [email protected] if you have one, or know of someone that has a banjo.
Almost doneOver the past few days, I have been working on the finishing touches to the banjo neck. I drilled the tuner holes, attached the peg head, and sanded the neck up to 12,000 grit!! I spent the evening tonight fitting the neck to the rim and starting to add the clear coating to the neck. I have 5 coats on so far. Pictures will come with my next post. By tomorrow night, the banjo will be completed (minus the arm rest and tailpiece)and I will post my first video either Thursday night, or friday morning. I'll finish the arm rest this weekend before I hand the banjo over at Vandalia. For now, I'll have a temporary tailpiece on until I can finish the the Cottrell tailpiece. 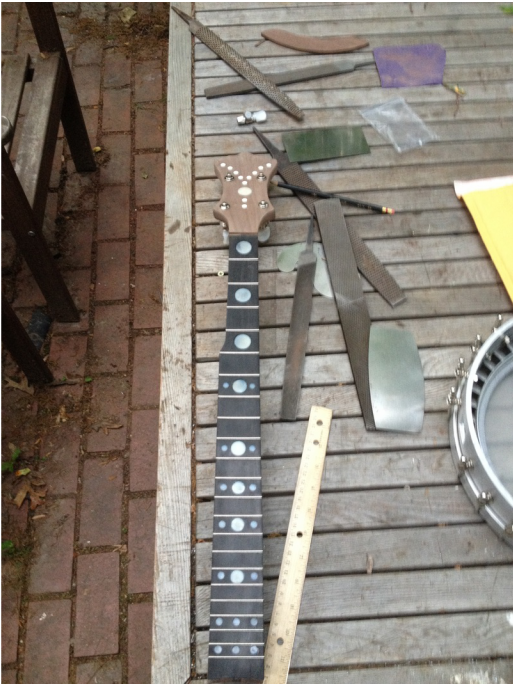


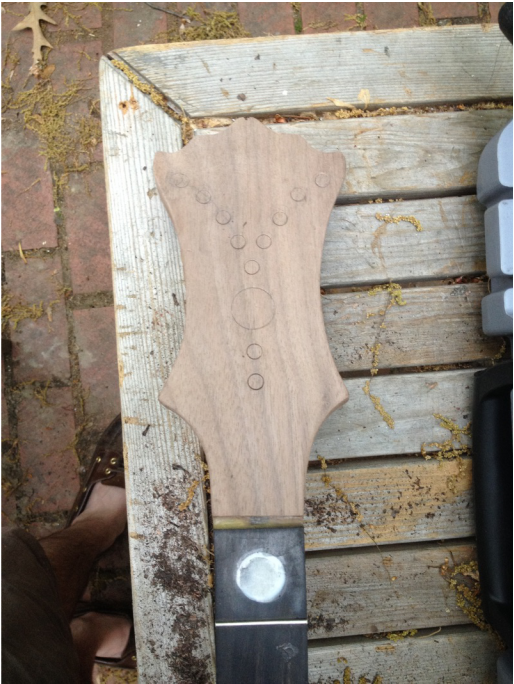
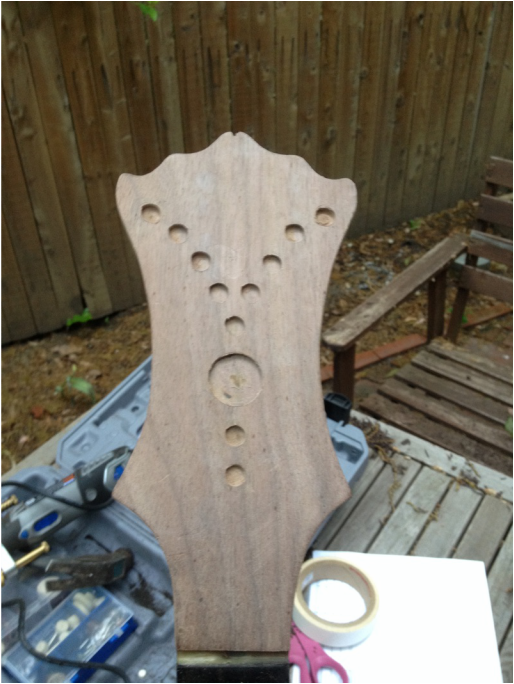
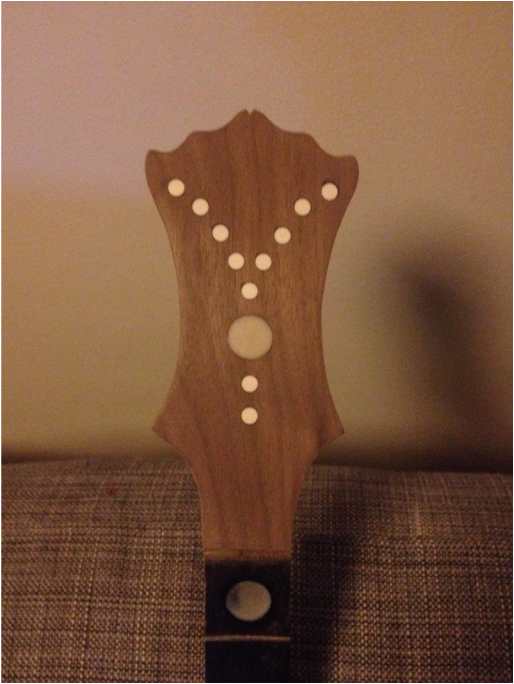
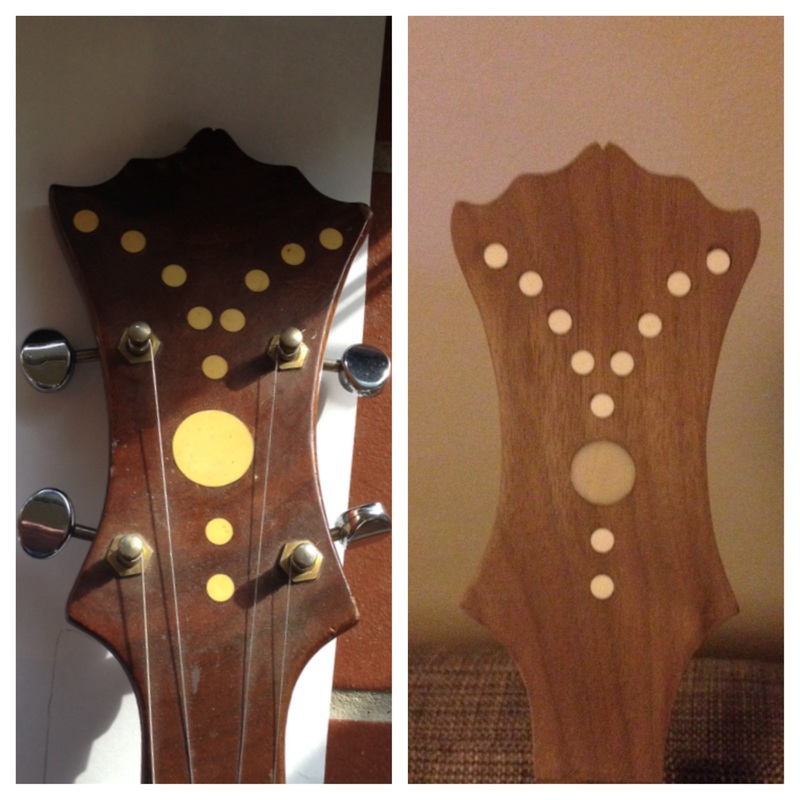
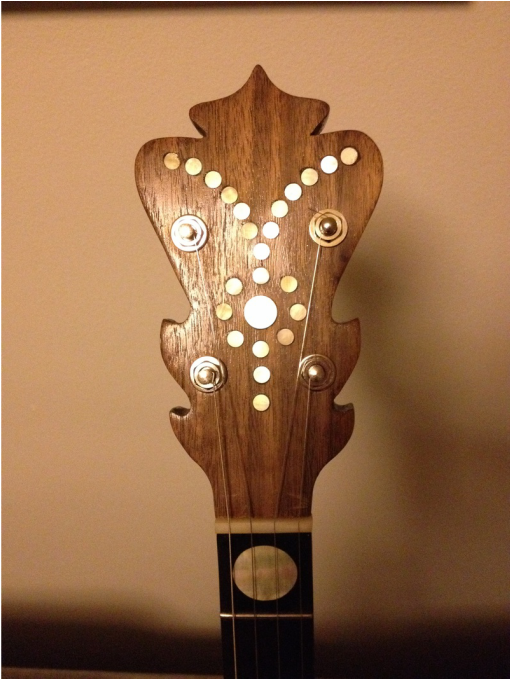
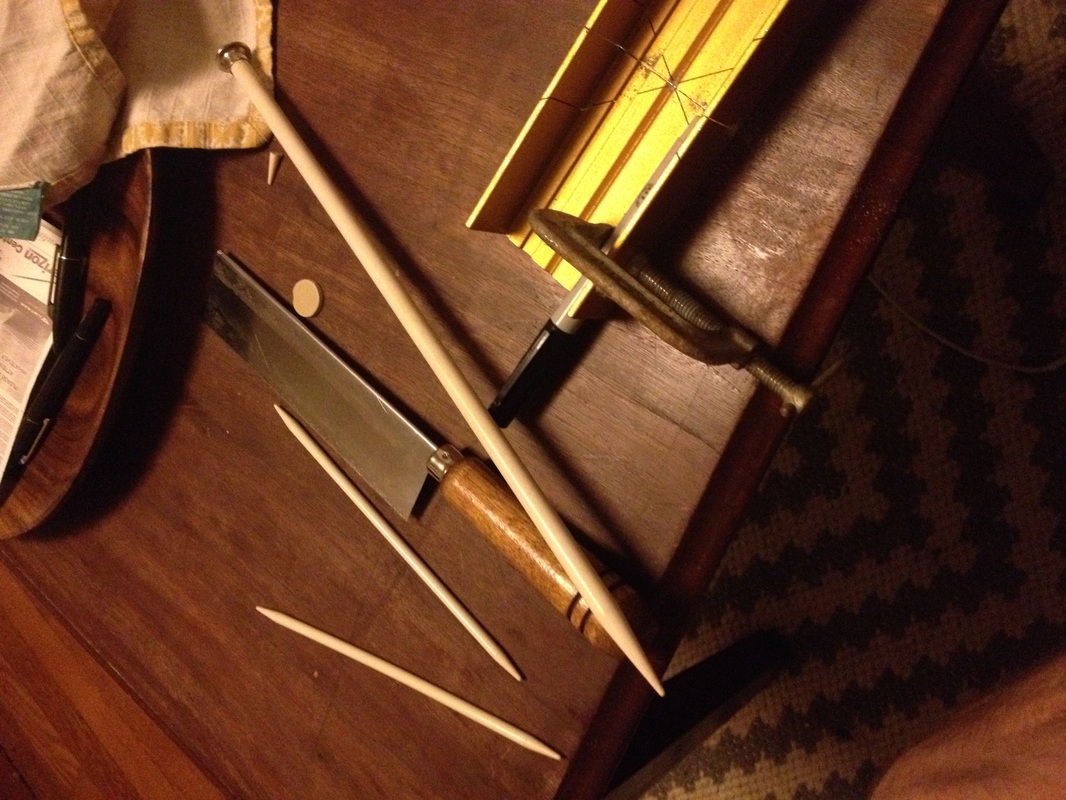
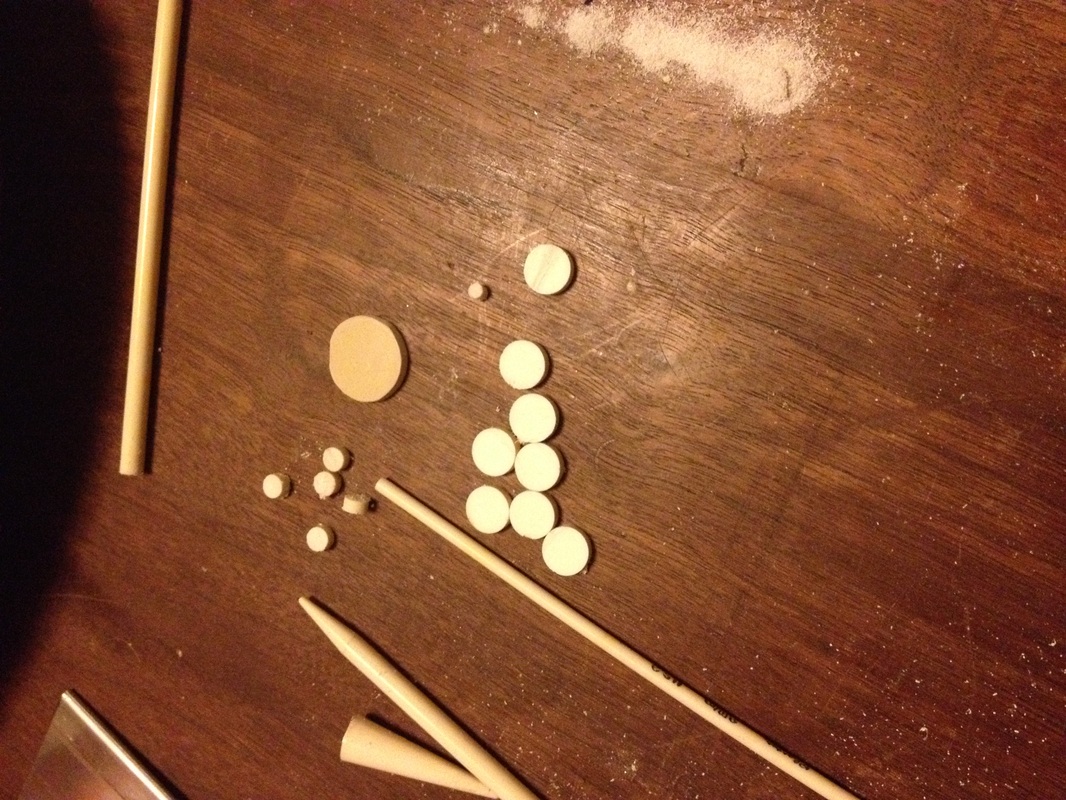
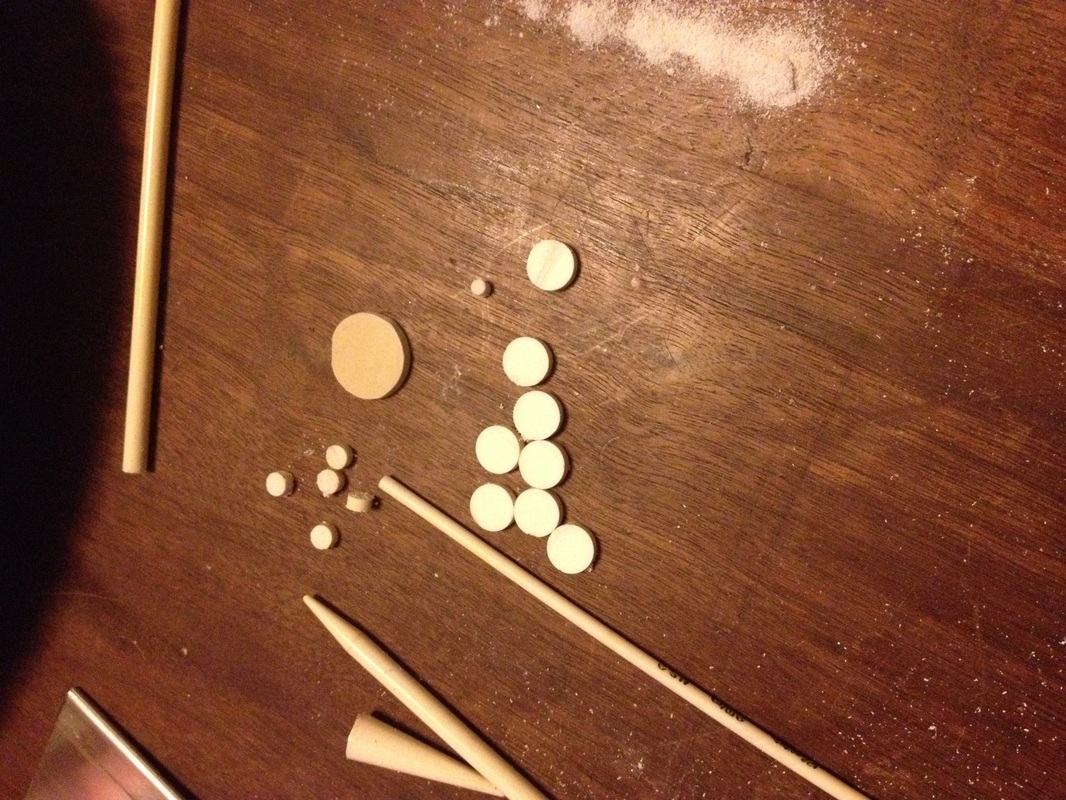
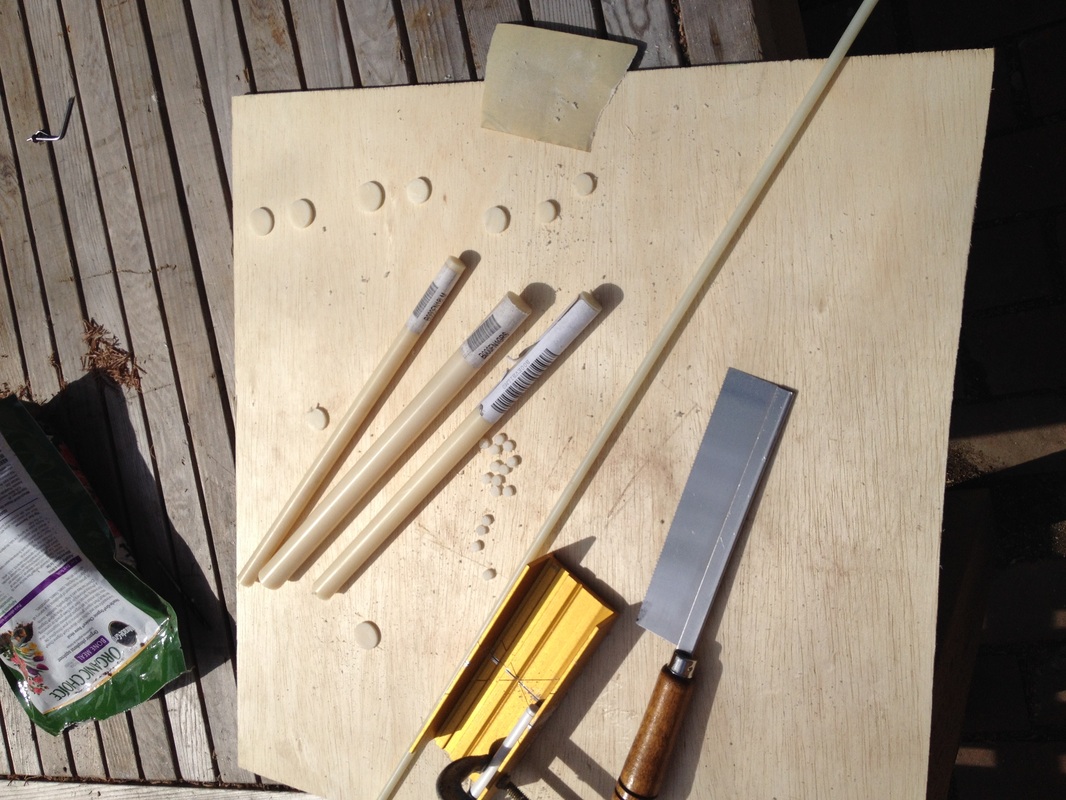
The Peg Head + InlayIn this post, you'll see the peg head taking its final shape, as well as some of the the inlay process. Using the knitting needles here for the 1/4" inlay. Abs plastic for the larger 3/4" dots....still trying to find a plastic to match the knitting needle. 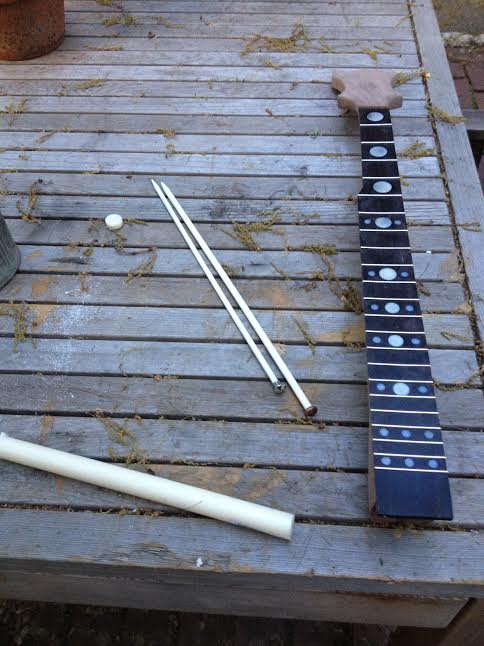
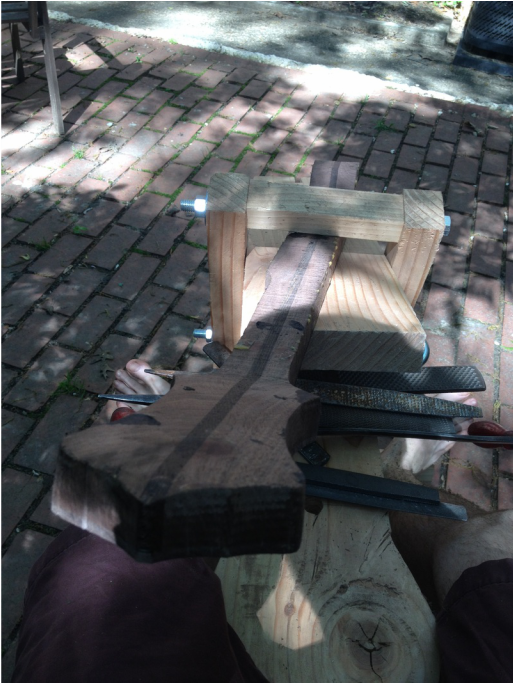
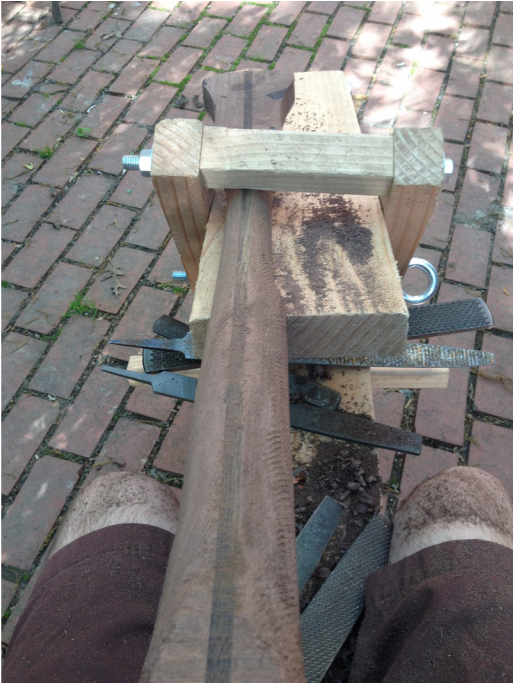
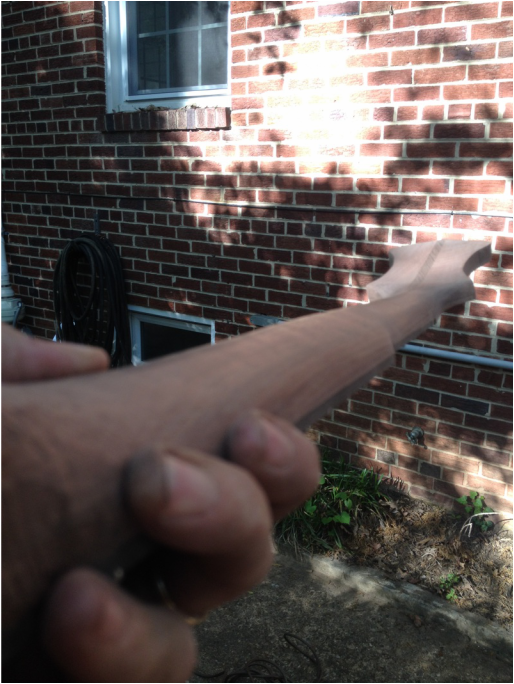
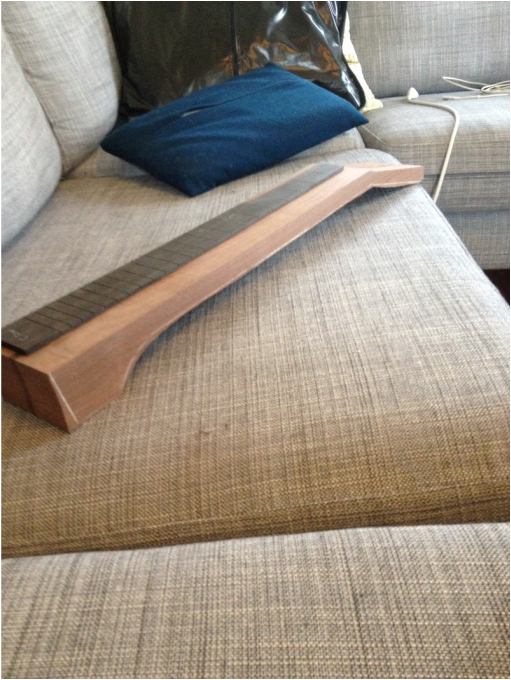
The Man on the HorsePerhaps my favorite part about building a banjo is shaping the neck. How do you shape the neck? Well, I much like the sculptor making a statue of a man on a horse, you take away everything that isn't a man or a horse. On the banjo neck it's taking away everything that isn't part of the banjo. Armed with a draw knife, scraper, half round file, and rasp I get to work. For the shaping, I mostly use a draw knife and scraper. However, as I get closer to the heel, I'll start to use the rasp and file. I do all of my work sitting on my trusty shaving horse. I could sit on the horse for hour and sometimes to. It's very therapeutic sitting and using the draw knife. 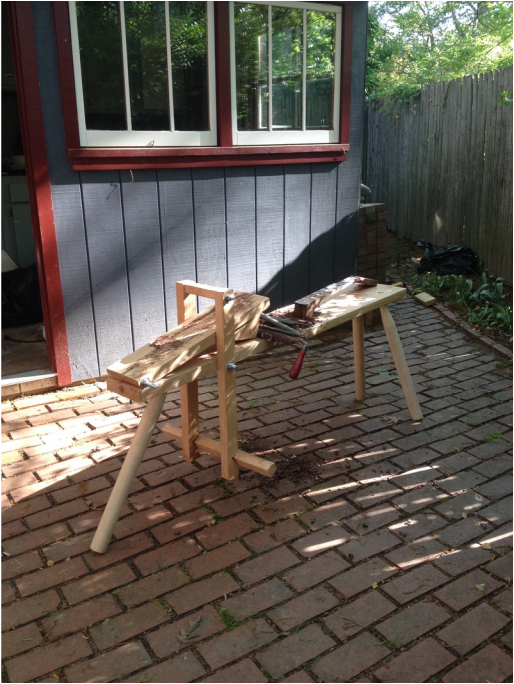
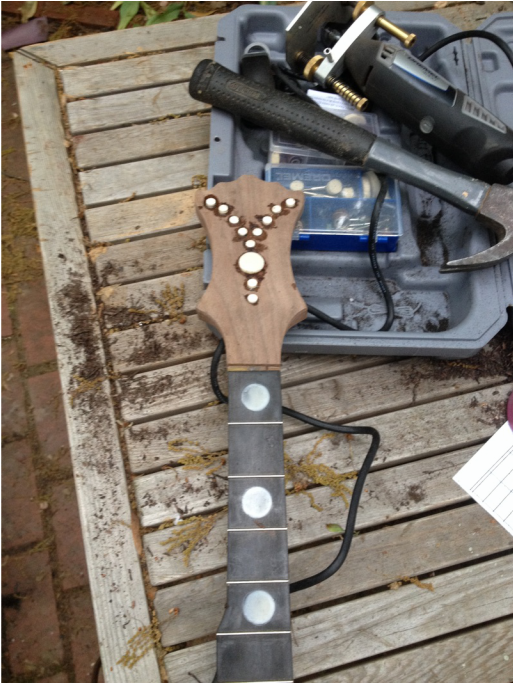
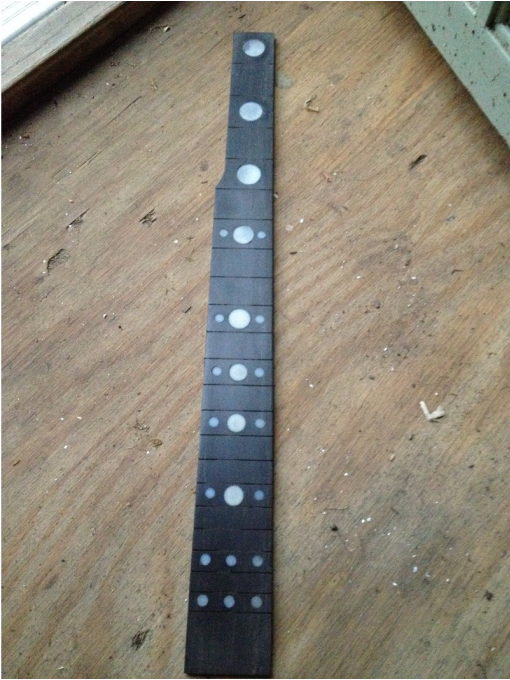
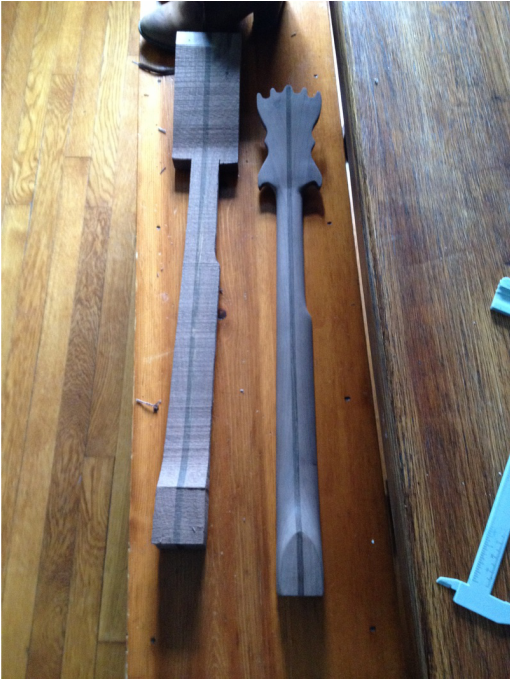
Starting to Take ShapeOver the past couple of days, I was able to make some decent progress on the the neck. On Tuesday, I finished the inlay, polished, and fretted the fingerboard. On Tuesday I glued the fingerboard on the the neck. Wednesday was a pretty busy day, so the only thing I could get done was Glue the veneer to the peg head. This evening, i was able to rough shape the peg head. All that is left to shape the peg head is to take care of the curves on the top. I'll finish that tomorrow, and begin shaping the banjo neck. On Saturday and Sunday, I hope to shape and sand the neck, inlay the peg head, and construct the armrest + brackets. 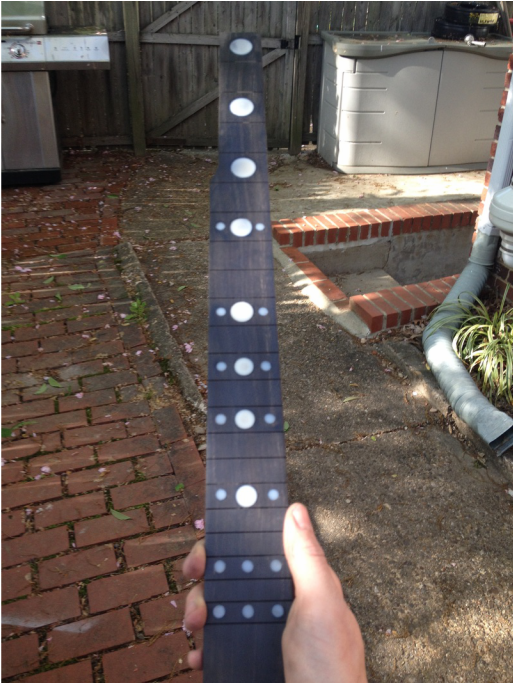 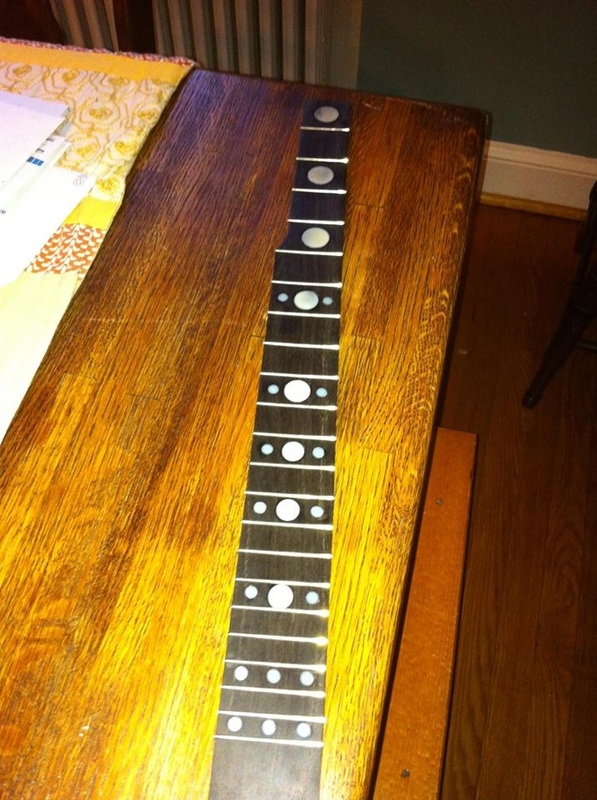 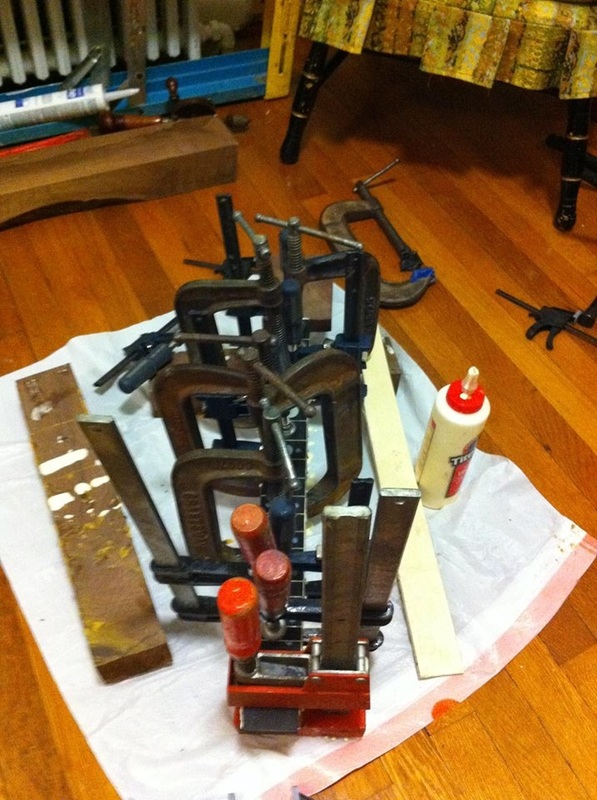 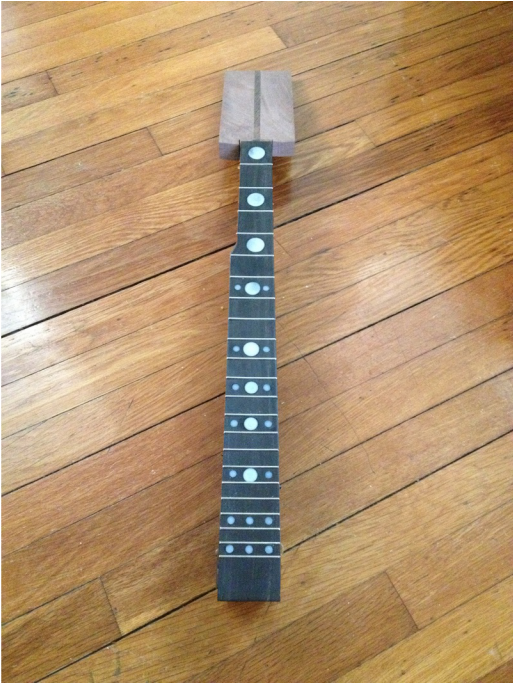 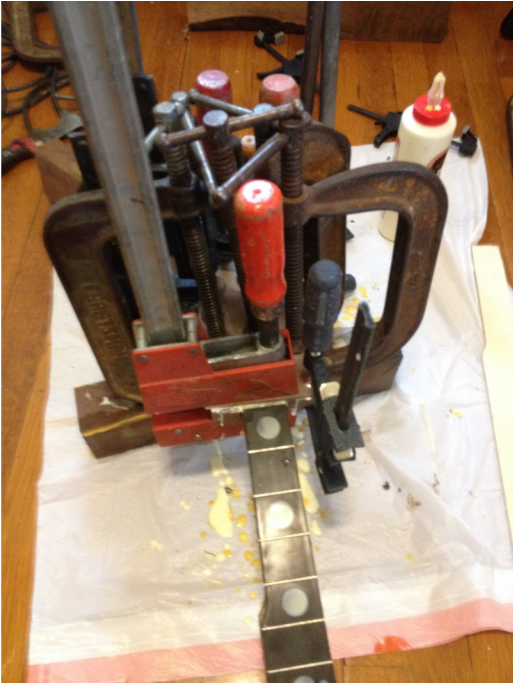 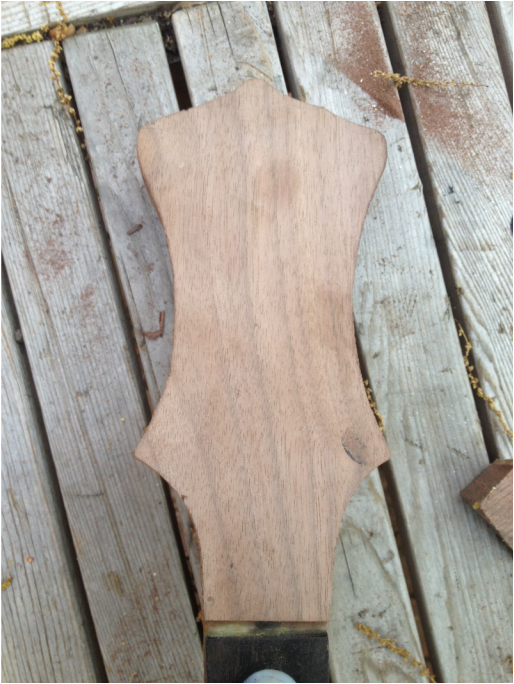 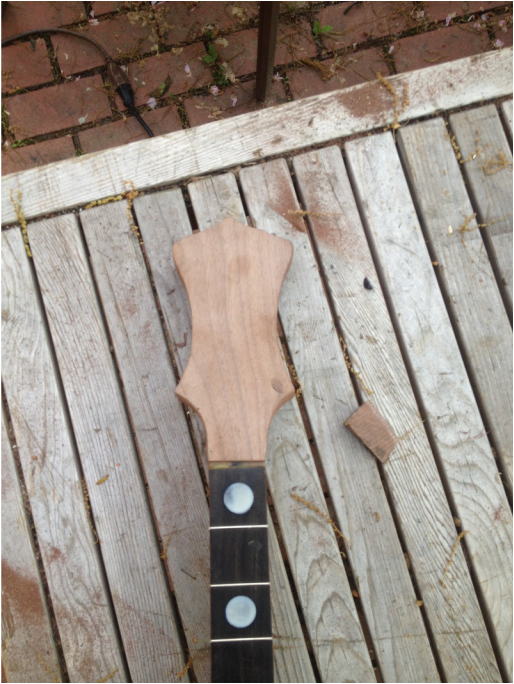 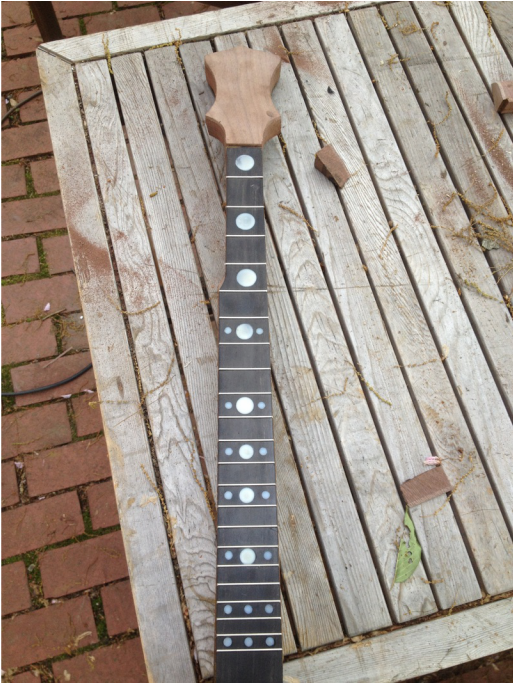 Inlaying the neckYesterday and today I was able to drill out the recesses for the inlay on the fingerboard. Today I put in the inlay and was able to sand everything down to 600 grit. Tomorrow, I'll polish it up to 12,000 grit (not 1,200) install the frets, and glue the fingerboard to the neck. On Wednesday I'll have only enough time to glue the walnut veneer to the peg head. Then on Thursday, I'll start shaping the neck and cutting out the peg head design. But the end of this weekend, I hope to have everything except the dowel stick install finished. Below are some pictures from the inlay. 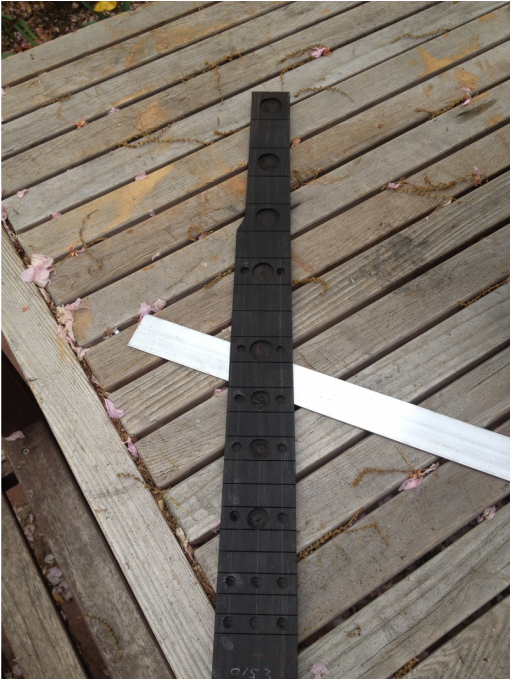
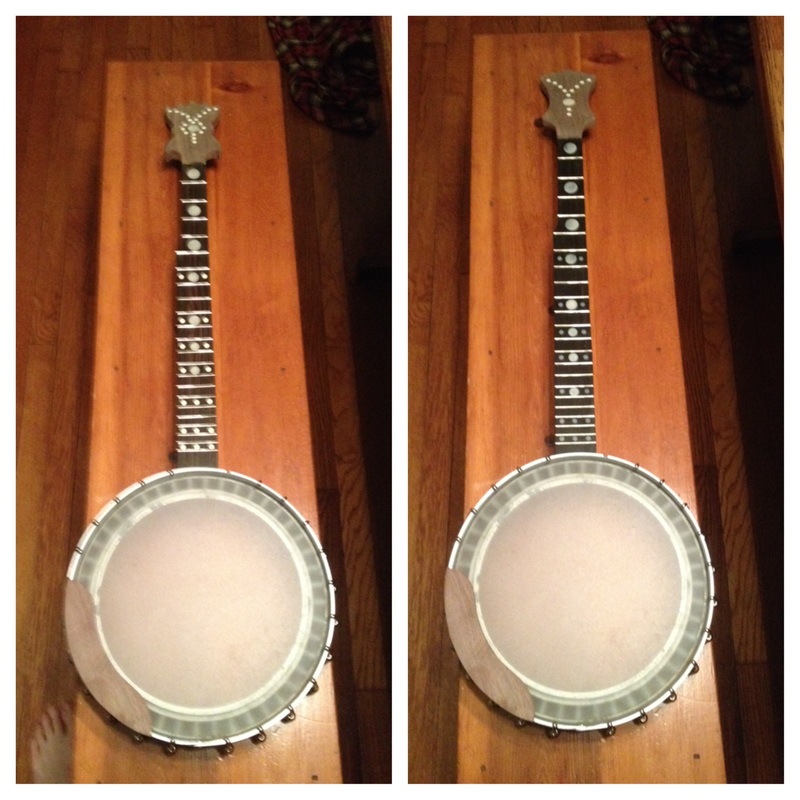
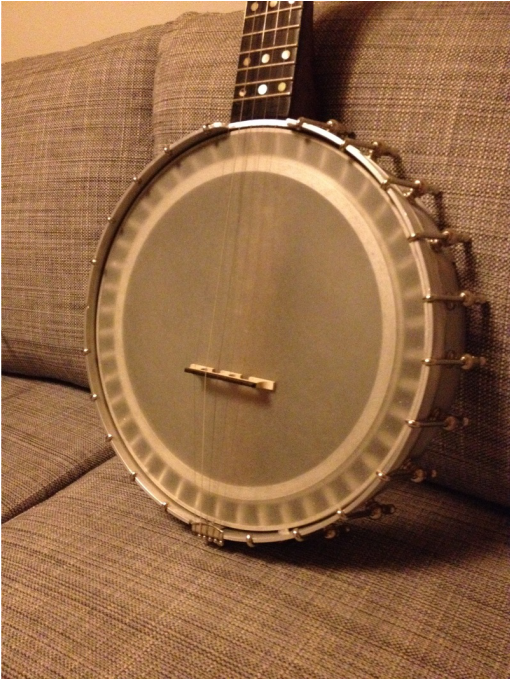
CW Dean 001: 5/1/2014Today I finished my first commissioned banjo, of three that I am currently working on. This banjo is inspired by a banjo that Jenes Cottrell made for himself in January of 1975. In some ways I tried to recreate some aspects of the original, but in other ways I used my own ideas. 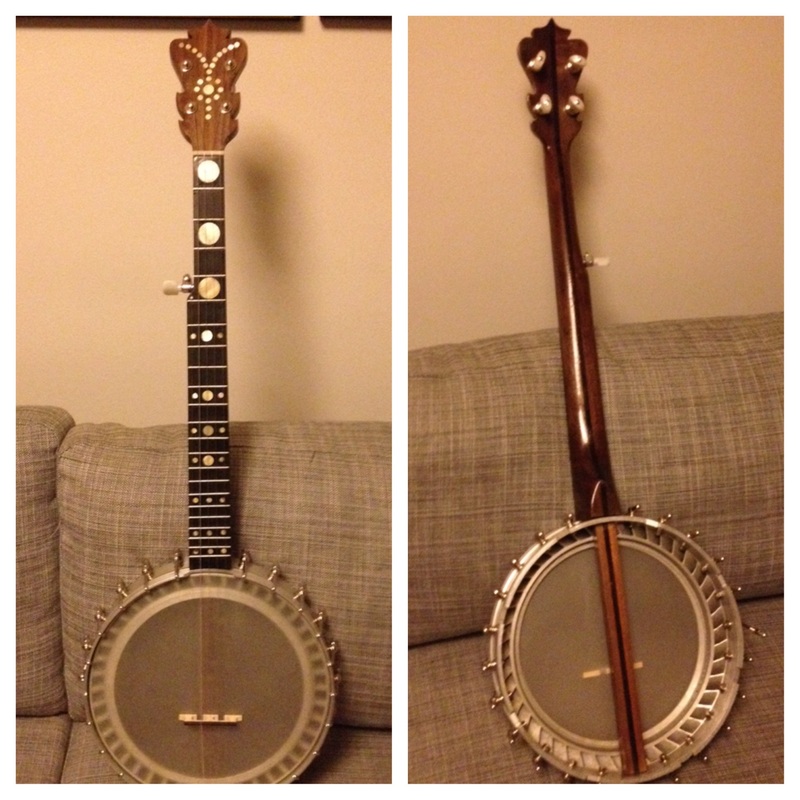
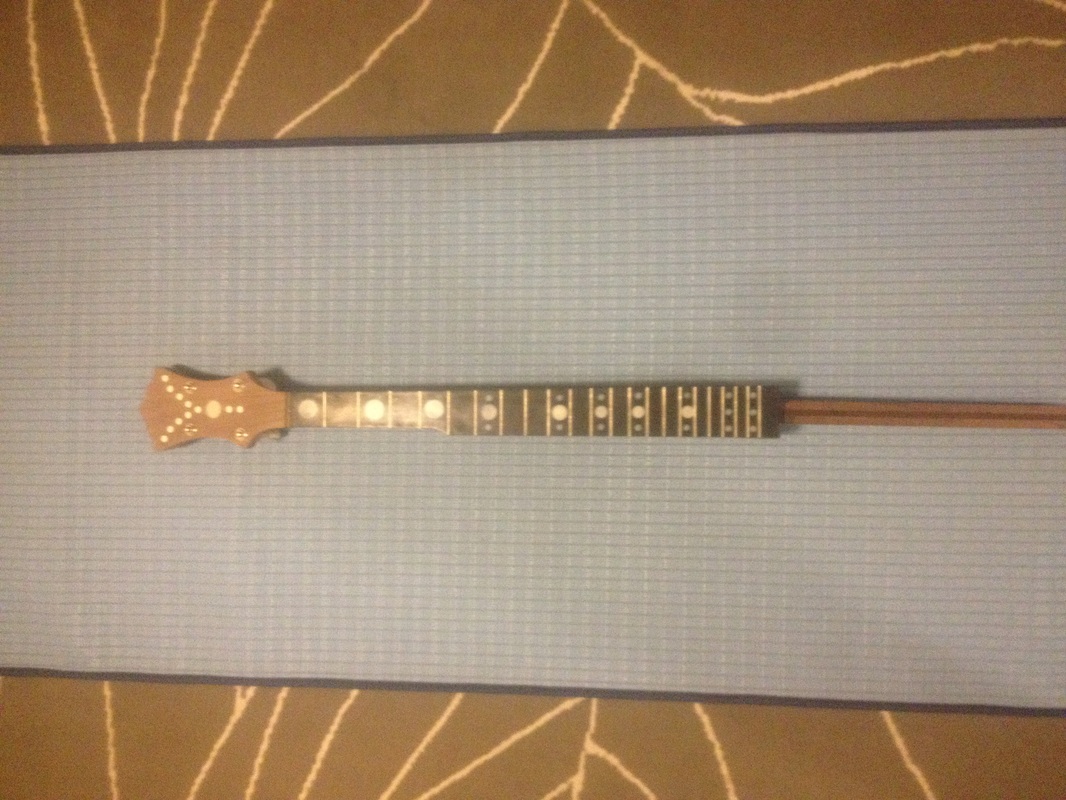
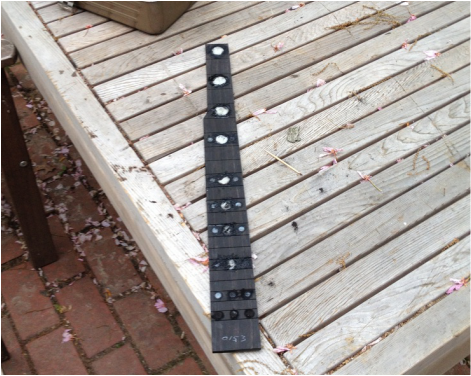
It's been a whileHey All! Sorry, it has been a couple of weeks since my last update. I had a family emergency that caused me to be away from the project for about a week and a half. So I have to apologize, my expected finish date is now Saturday, May 17. Even though it is not a lot, I have made some progress since my last post. I rough cut the neck, cut and shaped the fingerboard, and cut the heel angle. This weekend I plan on both shaping the neck, inlaying the fingerboard, and fretting the fingerboard. Below are some pictures of the progress 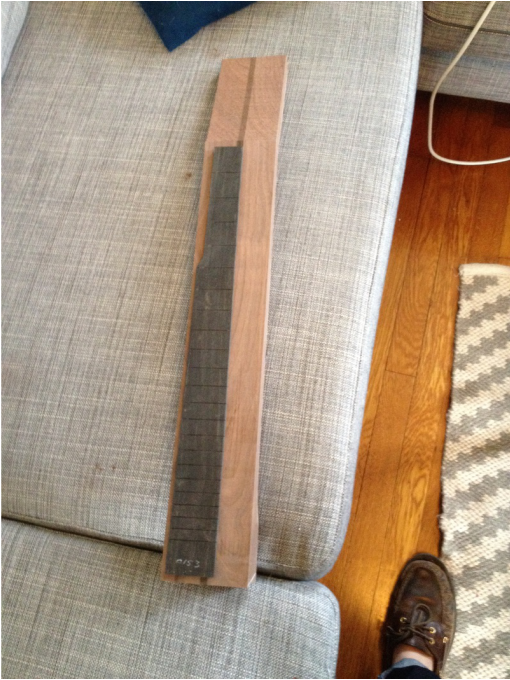
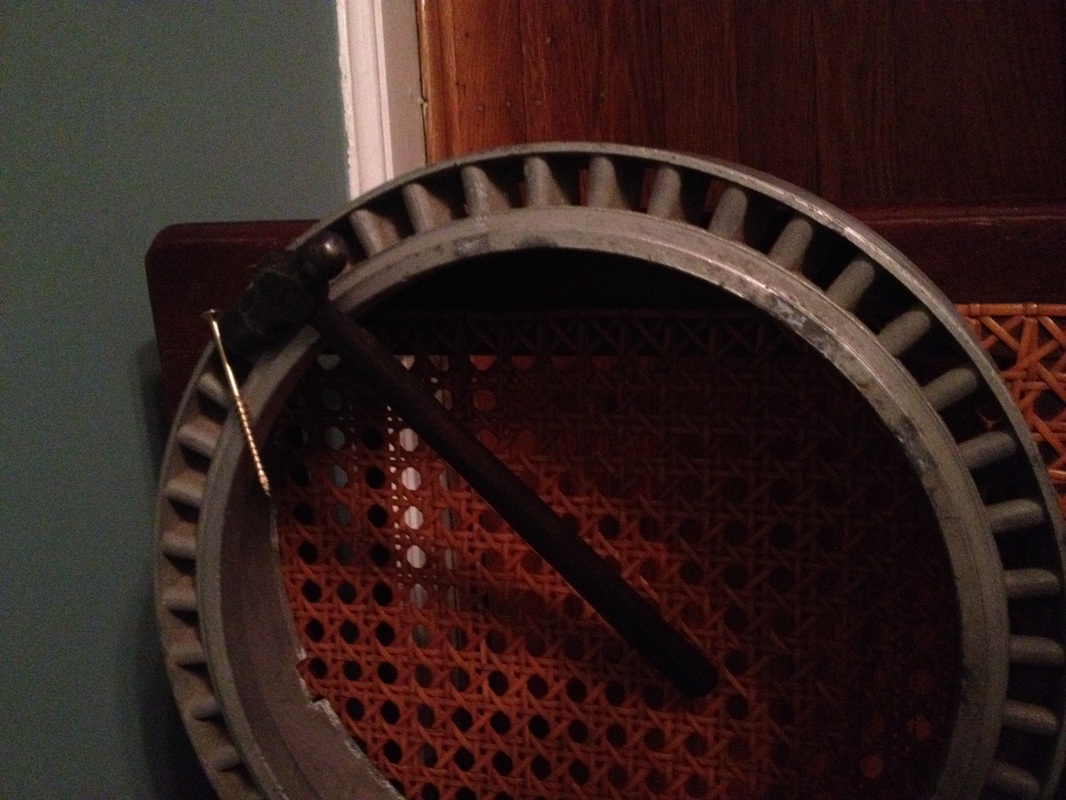
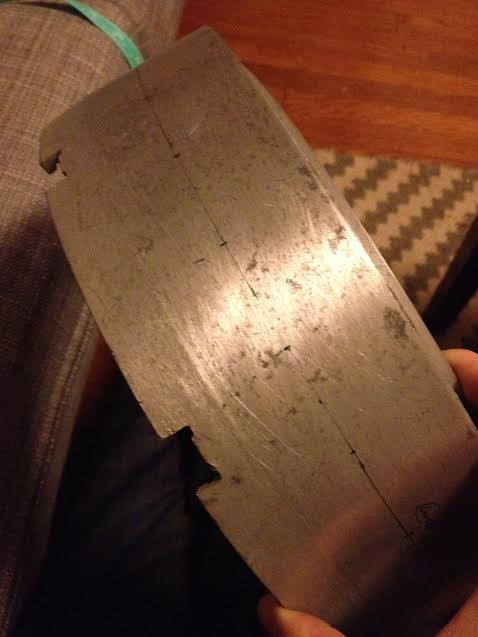
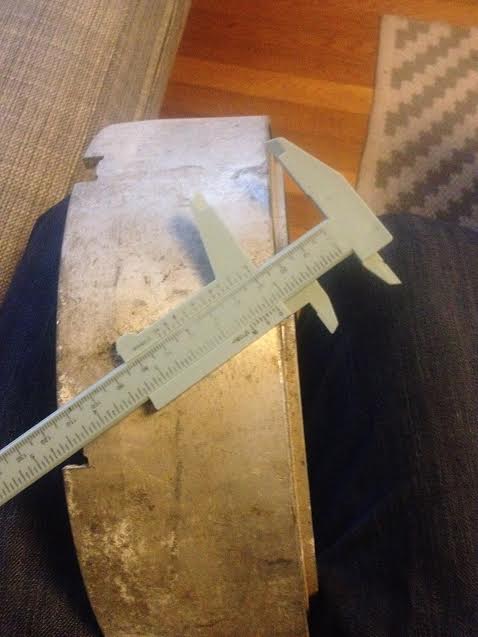
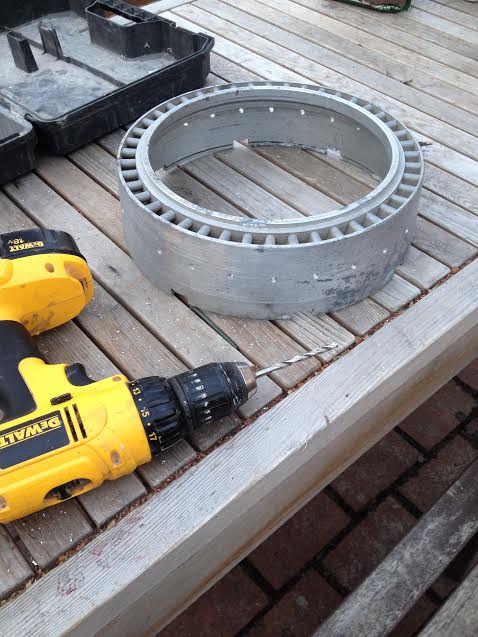
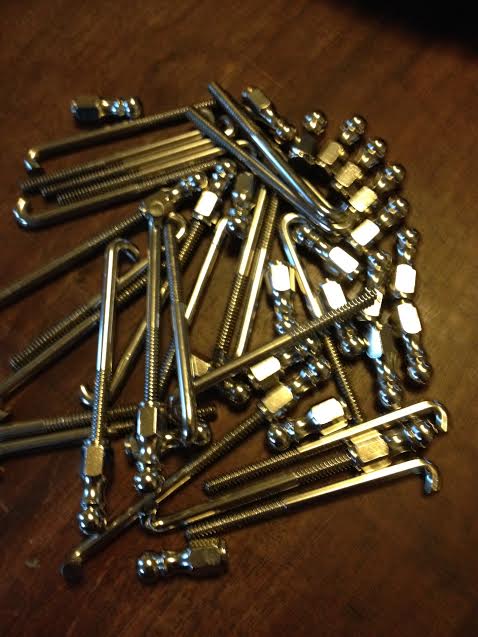
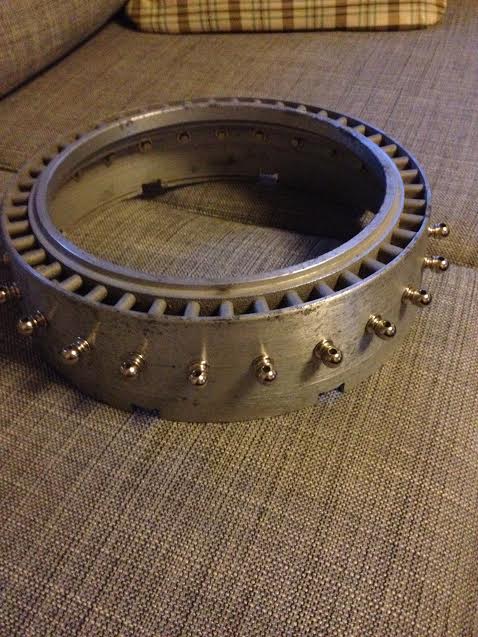
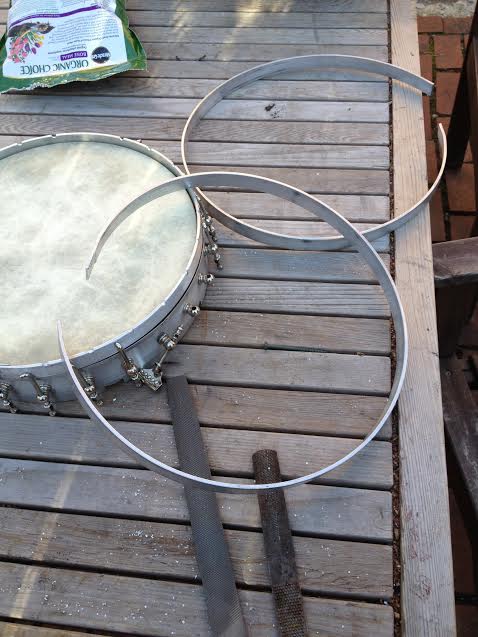
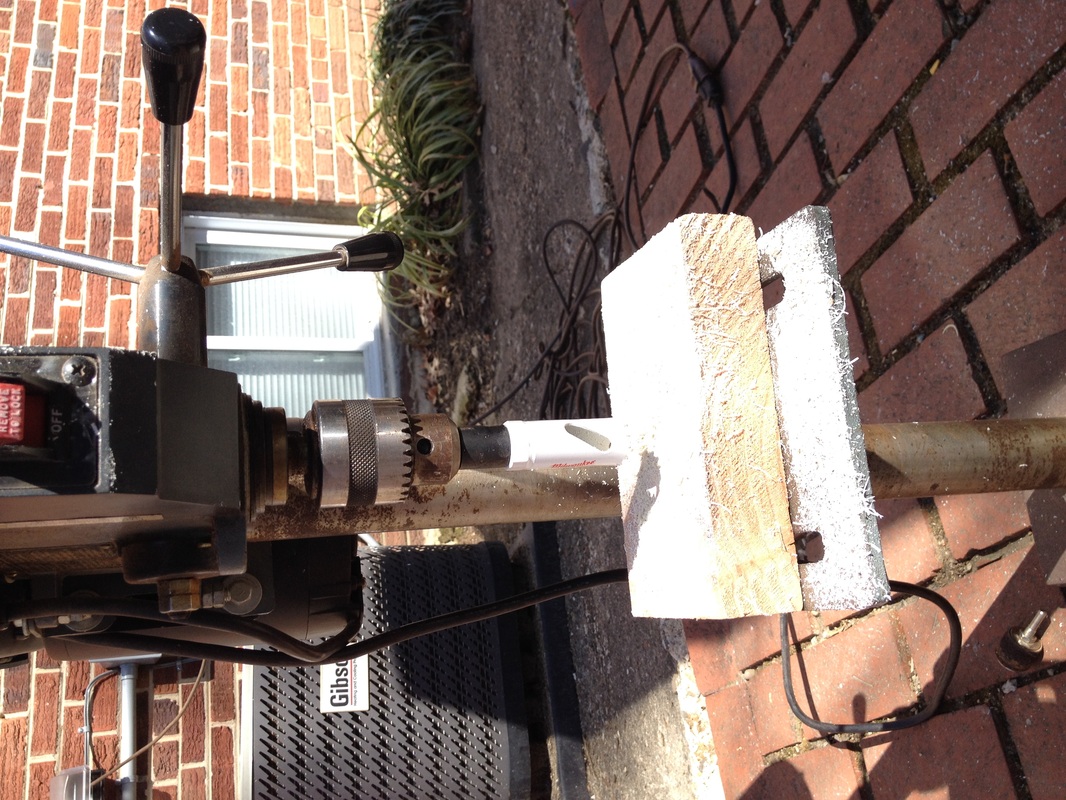
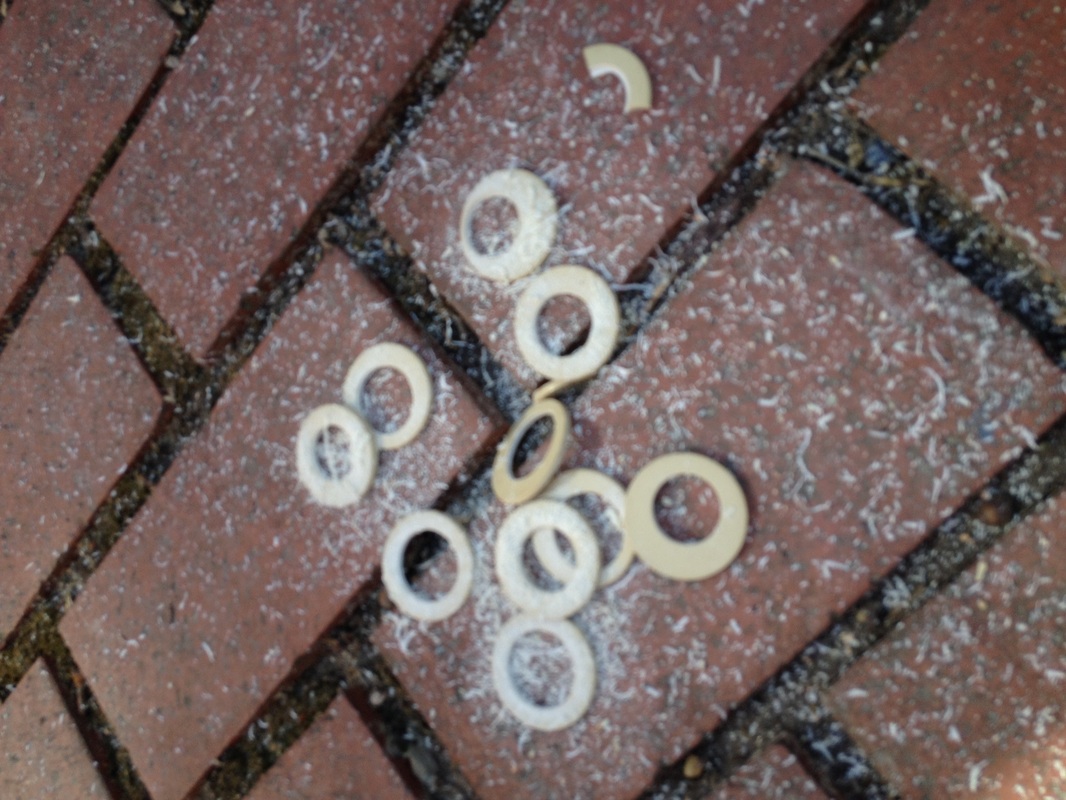
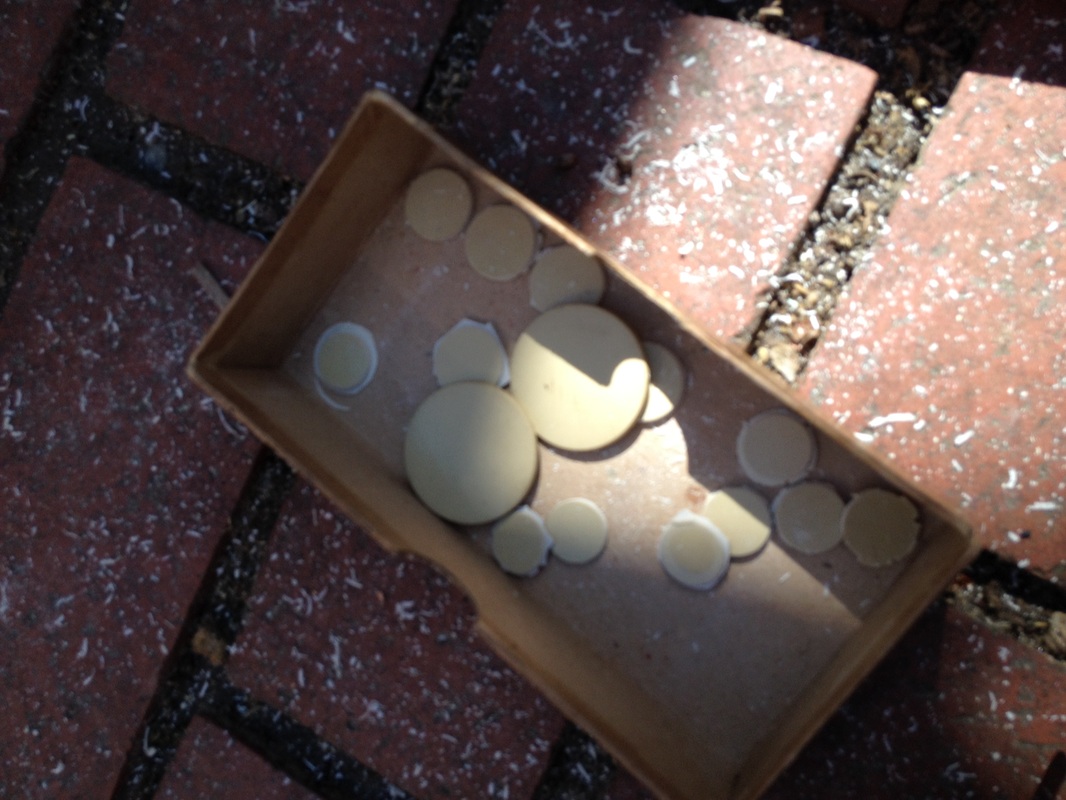
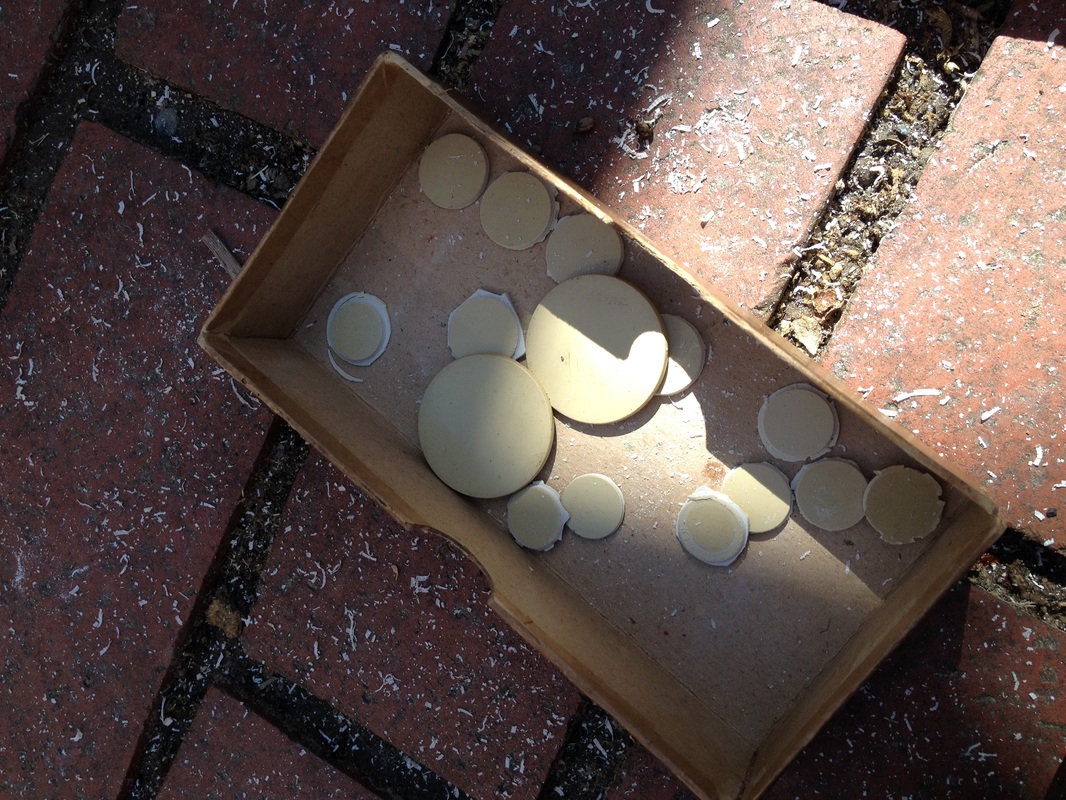
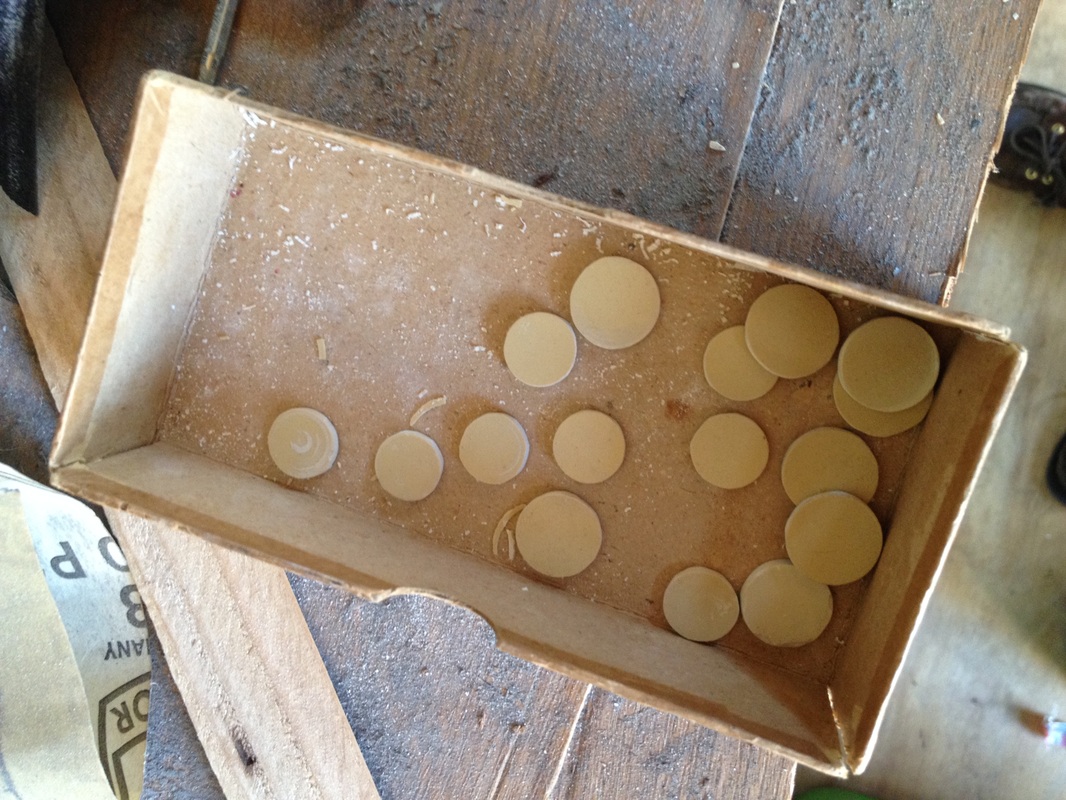
Construction beginsOver the past week and a half, I started working on the banjo. I started out by prepping the torque converter rim. I started by measuring and drilling the holes for the banjo shoes. Also in the same day I rolled and assembled the tension hoop, and attached the shoes/hooks. Getting the Inlay ReadyI've spent a lot of time lately collecting knitting needles to slice down into inlay, much like Jenes used. I've been buying up quite bakelite and celluloid knitting needles on ebay. Contrary to popular belief, most knitting needles in the 50's on up were made of bakelite, not celluloid. The hardest part about the inlay is finding 3/4" thick knitting needles that aren't hollow. Jenes use fridge crisper trays as well. The problem is that I need a plastic that will react in the same manner with the finish as the vintage knitting needles and trays did. So I tried bakelite poker chips.....but they aren't the same color. So after a lot of research I found the ABS will do the trick and it comes in 1/2" 5/8" and 3/4" rods. It will end up turning a nice golden color, like the knitting needles. I'm ordering those tonight. The neck, fingerboard, and tension hoopI spent this past weekend working on three banjos. I'm currently building one for Martin Metz, Pete Kosky, and the Glenville Banjo. For folk festival banjo, I was able to plane the wood and cut down the center strip. For the wood, I am using West Virginia Black Walnut, which Jenes was famous for using. Since it is extremely hard to find wood that is as straight grained as Jenes cut his, I am going with a laminated neck. I also wanted to stay away from the truss rod. So, I am using black walnut with a wenge center strip for stability. I glued the neck up last night, clamped it, and let it sit for 24 hours. While that was happening I finished up the fingerboard, which is now ready to go. This evening, I put the finishing touches on the tension hoop. I added the notches for the tension hoop and sanded it nice and smooth. What's next?Next up on this build will come Friday. On Friday, I'm going to rough out and begin shaping the neck. I hop to finish shaping the neck, attach the peghead veneer, and glue on the fingerboard before the weekend is finished. Then next week, I aim to inlay and add the frets. The week after that, I hope to do the final sanding (up to 12,000 grit!!!) shape the heel to the rim, attach the dowel stick, and put the clear coat on. I'm still hoping to be finished by May 1st!
|
AuthorI build banjos inspired by the West Virginia musician and craftsman, Jenes Cottrell Archives
September 2019
Categories
All
|

 RSS Feed
